Creating a gluten free pie crust can be a bit challenging. Luckily, with the precise mixing of flour accompanied with some techniques, you can instantly become an expert in creating one.
Here are the basic ingredients of a gluten free pie crust:
Ingredients:
2 cups of Gluten Free Flour
1/2 cup of Shortening
1 egg
2/3 cup of water
1/2 tsp of salt
2 tsp of sugar
How To Make Gluten Free Pie Crust
Step One: In a large bowl, combine the Gluten Free Flour, salt, and sugar.
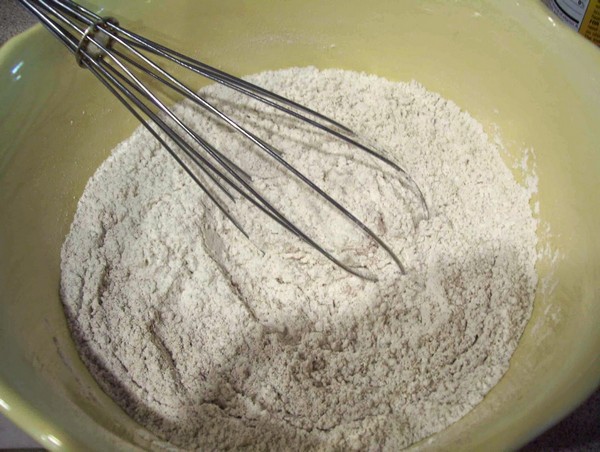
There are a lot of varieties of gluten-free pre-mixed flour blends that are available in the market right now. However, if you want to mix your own flour then you can achieve the same results by combining millet flour and tapioca starch. By mixing your own flour, you can customize the blend according to your needs. The millet flour provides an exquisite flavor and a creamy yellow color to your crust. Moreover, the tapioca starch can improve the elasticity of the dough.
Step Two: Add the Shortening into the mixture. Mix them together until it gets crumbly.
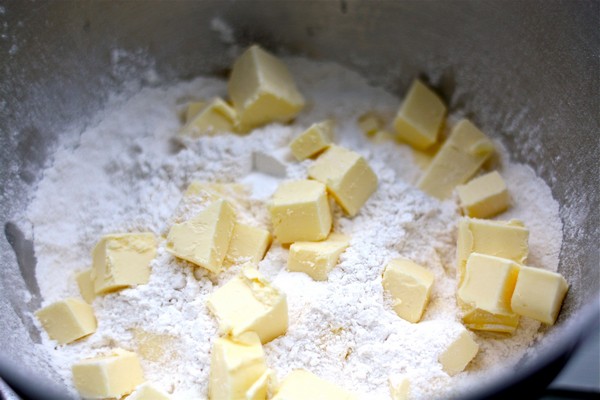
What is the best fat for your gluten free pie crust? Actually, there is no accurate answer for this. The best fat usually depends on the kind of pie crust that you desire. Butter can make your crust savory, crispy and flaky. If you want the flakiest pie crust then go for shortening. Shortening is also easy to roll, however, it lacks flavor. Lard is also a good choice since it can generate a flaky crust. Combining shortening and butter can result in a flaky and savory crust.
Step Three: Add the egg and mix them thoroughly. Make sure that the mixture is well blended and crumbly.
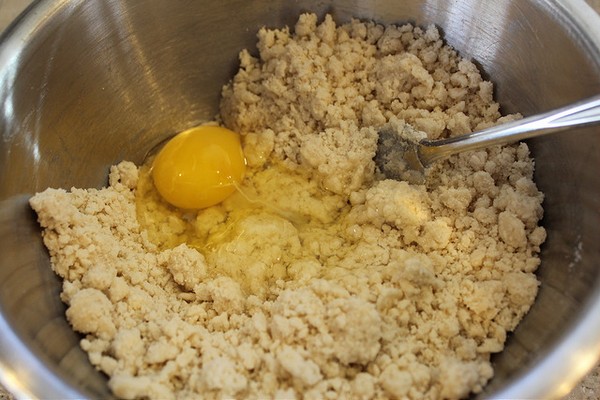
Adding a beaten egg is the key to creating the best gluten free pie crust.
Step Four: Add a small amount of water, approximately 1 tablespoon, at a time. Keep on adding until the dough holds together. It’s best to have a bit of moist for better rolling.
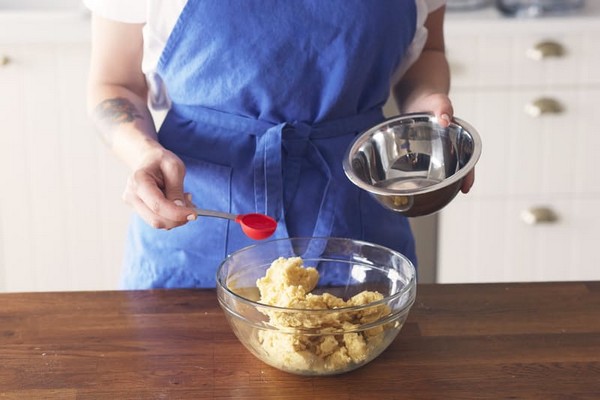
It’s actually difficult to determine how much water you need for your pie crust. Sometimes it depends on the type of your flour and fat. So, what’s enough? We recommend adding six tablespoons of water at the start. If the dough is still dry then add one tablespoon of water at a time. Make sure that the dough holds together.
Step Five: Divide the mixture into two and turn each mixture into a ball. One ball is equivalent to one crust or topping.
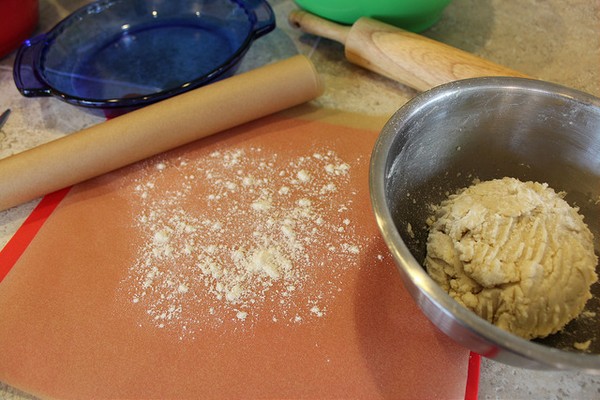
After mixing the dough, store it in the refrigerator for 30 minutes. This can make the crust easier to roll since the water will be absorbed by the dough.
Step Six: Flattened the dough ball to create a disc. Make sure that your hands are floured and put the dough into a floured parchment. You may also use a wax paper.
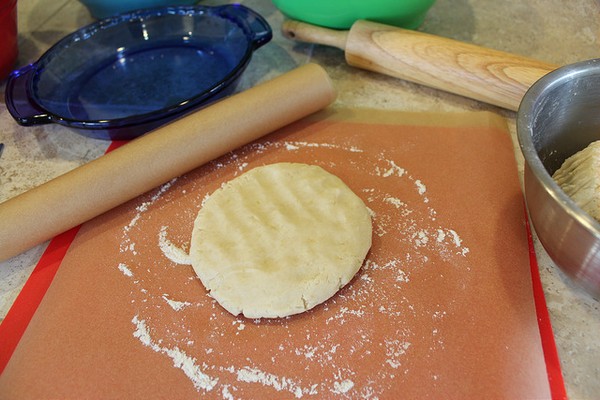
Since the dough does not have gluten then it can be a bit challenging to roll out. Let the dough warm up a bit before rolling it out. If you are using a shortening or butter then this is not necessary because it won’t get brittle.
Step Seven: Get another sheet of parchment and cover the dough. Begin rolling the crust until it is a bit bigger than your pie tin.
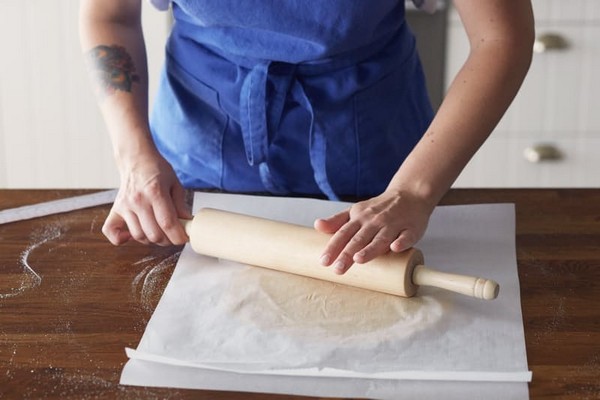
After rolling, place the dough back in the refrigerator for about 20 minutes to chill the fat.
Step Eight: Take out the top parchment cover and flip it into the pie tin. Press it into the pan.
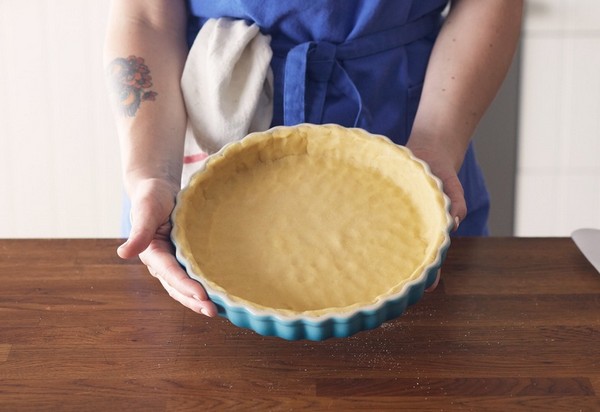
Be sure to place the pie plate at the center. If there are cracks then don’t freak out. Just press the cracks back together in the pie plate, as if you were modeling clay. Curl the edges to make it more appealing.
Gluten Free Pie Crust Blind Baking
Blind baking, also known as pre-baking, is an important step since it can prevent your gluten free pie crust from being soggy.
Step One. Preheat your oven to 400°F.
Step Two. Cover your pie plate with an aluminum foil.
Step Three. Add some dried beans into the pan.
Step Four. Just bake it for about 15 minutes.
Step Five. Remove the foil and the beans out of the crust.
Step Six. Lower the temperature to 375°F. If you want a partially baked gluten free pie crust then bake it for about 5 to 8 minutes or until the edges of the crust turns into light golden-brown. However, if you prefer a fully baked gluten-free pie crust then bake it for about 15 minutes or until the crust turns golden brown.
Freezing Gluten Free Pie Crust Dough
If you’re not yet ready to bake your birthday pie then you can wrap the dough in plastic and place it inside a zip-top freezer bag. When you’re ready to bake the pie then remove it from the freezer and thaw it overnight in the refrigerator. You can only keep the dough in the freezer for about three months. If it stays in the freezer beyond three months then the dough might be hard to work with.
Fall is the start of pie season. During this time the temperatures begin to drop so you can enjoy crisp apples and pears. A freshly baked pie made from a gluten-free pie crust is perfect for those chilly evenings. Do you want a pecan pie, an apple pie, or a pumpkin pie this Thanksgiving? Don’t worry because you can have all three in one?
Another healthy option is spiralized veggies. A perfectly baked pie crust is best for your gluten-free desserts with a hot espresso coffee.